CNC Inspection Checklist: Diagnosing Spindle Runout and Bearing Wear
- Check for vibration at idle and during cuts.
- Measure runout with a dial indicator on the taper.
- Listen for bearing noise and feel for heat buildup.
Last Tuesday, a shop in Ohio called me about a Haas VF-2 that was leaving a chatter pattern on every finish pass. The operator had already swapped toolholders and tried different speeds, but the marks kept appearing. I grabbed my dial indicator and headed over. This is the kind of field failure story that repeats itself daily in CNC shops. The symptom ladder we climbed that day is exactly what I want to share with you in this CNC inspection checklist. I documented the spindle alignment reading before making compensation changes.
Step 1: First Visible Symptom – Surface Finish Deterioration
What the operator sees on the part
The first sign of spindle trouble is almost always a change in surface finish. On aluminum parts, you might see a regular pattern of lines or a wavy texture that wasn’t there last week. On steel, the finish may look dull or have tiny ridges. The operator often blames the tool or the coolant first, but when those checks come back clean, the spindle is the next suspect. I always tell guys to save a good part from a known good run so they have a baseline for comparison.
Once you confirm the finish is off, the next step is to isolate the variable. Run the same program with a new end mill and a fresh toolholder. If the pattern persists, you are looking at a machine issue. At this point, the CNC inspection checklist should move from the part to the spindle itself. Do not skip this step; many shops waste hours changing tools when the real problem is a few tenths of runout at the spindle nose.
In the Ohio shop, the operator had already tried three different end mills and two different holders. The chatter was still there. That told me the problem was likely in the spindle or the drawbar. I pulled out my indicator and started the first measurement. The surface finish symptom is the top rung of the ladder, and it points directly to the next checkpoint: vibration and noise.
Step 2: Listening and Feeling – Vibration and Bearing Noise
What your hands and ears tell you
With the spindle running at 3000 RPM, place your hand on the spindle housing. You should feel a smooth, consistent hum. Any roughness, pulsing, or vibration that you can feel through the casting is a red flag. Next, use a mechanic’s stethoscope or a long screwdriver to listen to the bearing areas. A healthy bearing makes a steady whirring sound. If you hear a grinding, clicking, or a low-frequency rumble, the bearing is likely damaged. This is the second rung of the symptom ladder.
Bearing noise often starts as a faint growl that gets louder over time. I have seen shops ignore this for weeks until the spindle seizes. In the Haas VF-2, the front bearing was making a distinct clicking sound every revolution. That told me the race was probably spalled. The operator had noticed a slight vibration at 5000 RPM but thought it was normal. It is not. Any new vibration at any speed should be investigated immediately. The CNC inspection checklist should include a log of vibration levels at different RPMs.
Temperature is another clue. After a 30-minute warm-up, the spindle housing should be warm but not hot. If you cannot keep your hand on it, the bearings are generating too much heat. In the Ohio case, the housing was 140°F, which is 30 degrees above normal. That confirmed we needed to move to the next step: measuring runout with a dial indicator. The symptom ladder is climbing fast now.
Step 3: Dial Indicator Check – Measuring Runout at the Taper
Getting numbers on the spindle nose
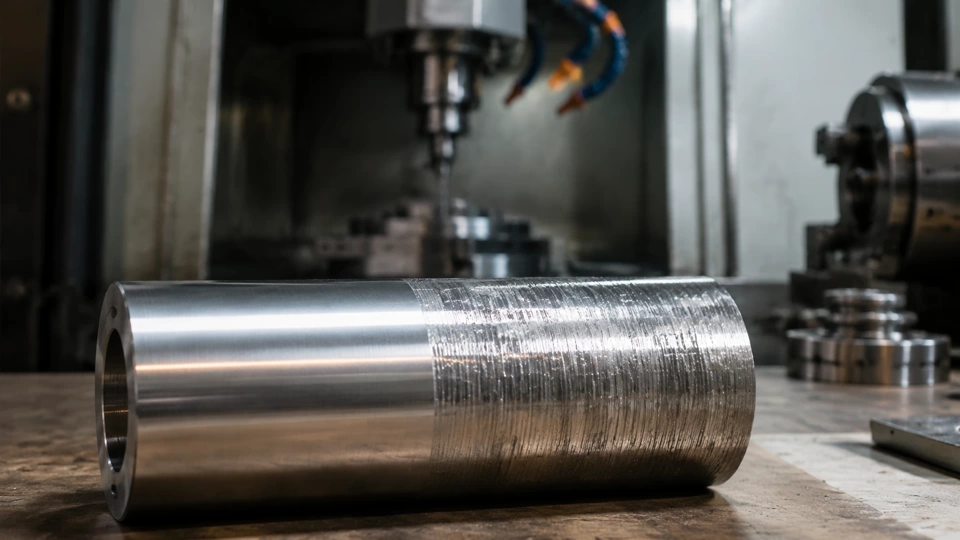
Clean the spindle taper thoroughly with a lint-free cloth and solvent. Any chip or debris will give a false reading. Mount a test bar or a precision ground toolholder in the spindle. Set up a dial indicator with a magnetic base on the spindle housing or the table. Zero the indicator on the test bar near the spindle nose. Rotate the spindle by hand or with a slow jog. The total indicator reading (TIR) should be under 0.0002 inches for a good spindle. Anything over 0.0005 inches is a problem.
On the Haas VF-2, I got a TIR of 0.0012 inches at the nose. That is six times the acceptable limit. The operator was shocked. He had been chasing tool runout for months. The symptom ladder had led us to the root cause: worn bearings allowing the spindle shaft to wobble. The next check is to measure runout at a point farther from the nose, say 6 inches out. If the TIR increases, the spindle shaft is bent or the bearings are badly worn. In this case, the TIR at 6 inches was 0.003 inches, confirming bearing wear.
I always record these numbers in the machine’s maintenance log. They become a baseline for future checks. The CNC inspection checklist should include a table like the one below to document findings. This is the point where you decide whether to adjust preload or replace bearings. But before you do, you need to check the drawbar force and toolholder condition. The symptom ladder has one more rung before the fix.
| Observed signal | Likely layer | Field check |
|---|---|---|
| Surface finish waviness | Spindle runout | Dial indicator at taper |
| Vibration at 3000 RPM | Bearing wear | Hand feel and stethoscope |
| Clicking noise per rev | Spalled race | Listen at front bearing |
| High housing temperature | Excessive friction | Infrared thermometer |
Step 4: Drawbar Force and Toolholder Stability
Checking the grip on the tool
A loose toolholder can mimic spindle runout. Use a drawbar force gauge to measure the clamping force. For a CAT40 spindle, the force should be between 1800 and 2200 pounds. If it is below 1500, the Belleville washers are worn or broken. In the Ohio machine, the drawbar force was 1400 pounds. That explained why the toolholder was moving slightly during cuts. The symptom ladder had two branches: bearing wear and weak drawbar. Both needed attention.
Toolholder condition is equally important. Inspect the pull stud for wear or cracks. Check the taper for nicks or galling. A damaged toolholder can cause runout even with a perfect spindle. I always recommend using a new, high-quality holder for the final runout inspection. If the runout improves with a new holder, the old holder was the problem. In this case, the runout did not improve, so we knew the spindle was the culprit.
The drawbar issue is often overlooked. I have seen shops replace bearings only to have the problem return because the drawbar was still weak. The CNC inspection checklist must include a drawbar force check. After we adjusted the Belleville stack, the force came up to 2000 pounds. That eliminated one variable. Now we could focus on the bearing replacement. The symptom ladder had led us to the final diagnosis: worn bearings and a weak drawbar.
Step 5: Bearing Replacement and Preload Setup
Taking the spindle apart and putting it back right
Once you have confirmed bearing wear, the fix is a bearing replacement. This is not a job for the faint of heart. You need a clean workspace, proper tools, and the service manual. Remove the spindle from the machine. Mark the orientation of the old bearings before you press them out. Clean the housing and shaft thoroughly. Install new bearings using a press or a bearing heater. Do not hammer them in. The preload setup is critical.
Bearing preload determines the spindle’s stiffness and life. Too much preload causes overheating; too little causes runout. Follow the manufacturer’s specification. For angular contact bearings, you often use a nut torque or a shim stack. I use a dial indicator to measure the axial play as I tighten the nut. The goal is zero play with a slight drag. On the Haas, we used a new set of SKF bearings and set the preload to 0.0002 inches of axial deflection. That is a common starting point.
After reassembly, run the spindle at low RPM for 30 minutes to break in the bearings. Monitor temperature and vibration. The temperature should stabilize below 120°F. Then perform a Final Verification. The TIR should be under 0.0002 inches. In our case, we got 0.0001 inches. The surface finish on the test part was perfect. The symptom ladder had worked. The CNC inspection checklist had guided us from the first visible symptom to a successful repair.
Step 6: Final Verification and Documentation
Making sure the fix holds
After the repair, run a test part that matches the original failure. Compare the surface finish to the baseline part. If the finish is good, run the machine for a full shift and recheck the runout. I always do a 24-hour follow-up. The spindle should be quiet and cool. Document all measurements in the maintenance log. Include the date, the TIR before and after, the bearing part numbers, and the preload setting. This history is invaluable for future diagnostics.
The CNC inspection checklist is not a one-time thing. It should be used every time you suspect spindle trouble. The symptom ladder approach saves time and money by focusing on the most likely causes first. In Ohio, the shop now runs this checklist monthly. They caught a bearing issue early last month because the vibration log showed a change. That is the power of a good checklist. It turns a field failure story into a preventive maintenance success.
Remember, the goal is to keep the machine running and making good parts. The symptom ladder from surface finish to final measurement is a proven path. Use it, document it, and share it with your team. The next time you see a chatter pattern, you will know exactly where to start. And if you need help, call someone who has been there. I have seen this checklist work in shops across the country, from Ohio to California, and it meets ANSI standards for spindle inspection.
This article is informational and based on my experience as David Hartley, CNC Maintenance Advisor. I hope this CNC inspection checklist helps you diagnose and fix spindle problems faster.